Friday, May 17, 2019

Friday Fun Day!


Hello folks & Happy Friday! I have a little bit of fun to share today and it just so happens to involve the challenge I hosted earlier this week on the Power Poppy blog. With a roll of the dice, those wanting to play along got to see just which challenge they would partake in for the week! If you are confused, don't worry, all the details can be found HERE! 

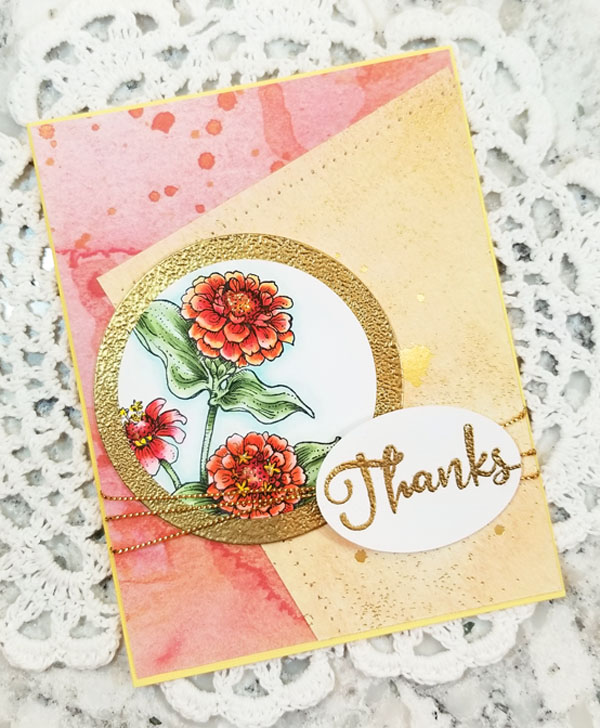
Since my challenge was to CASE one of my old creations, I spent some time scrolling through the Power Poppy blog and decided that THIS card would be a fun one to copy. And so.... off I went! Here's a peek at the finished card....


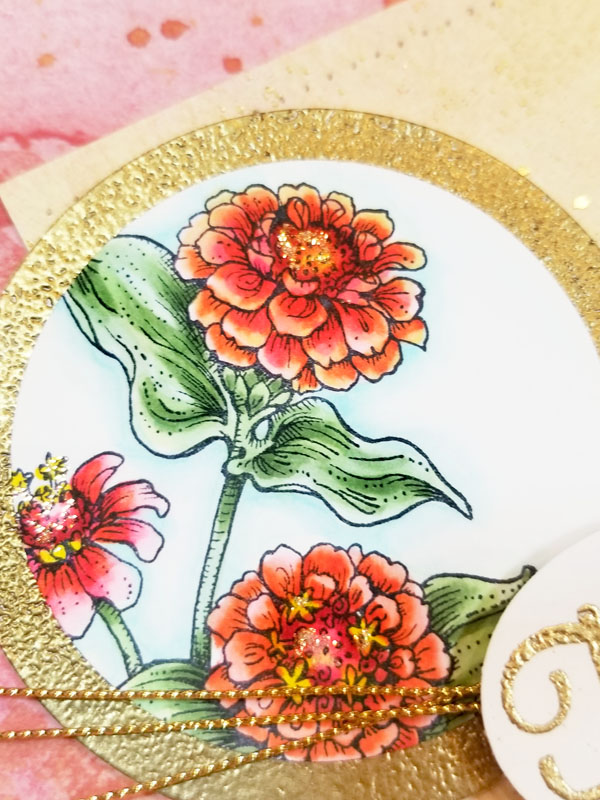
You can see I kept the composition and the colors pretty much the same. I used Power Poppy's Vibrant Thanks stamp set too! The only real difference is one of the papers and the shape of the punched sentiment accent. I also colored this all up with Copic Markers. In my first card, I used waterbased markers and a Wink of Stella glitter pen to color it all up. Here's a little closeup for you!


And here's another fun fact for you! I might have mentioned a few weeks ago that right now most of my craft room is boxed up while I get situated in a new room. Well, that's still the case folks! We have some painting to do and counters to install so, I am still in limbo! So, as I was searching for some gold paper and not finding it, I decided to make my own! I punched a circle, covered it with Versamark ink and then covered it in gold embossing powder! Just that simple!  


And GUESS WHAT? This isn't the only card I created! I actually created a trio using Power Poppy's Vibrant Thanks stamp set. Want to see?

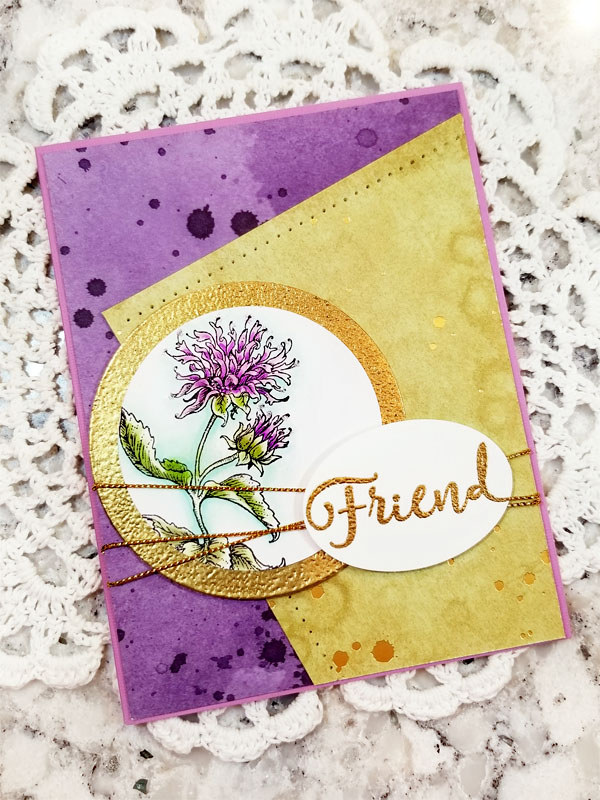
Here's the second card....


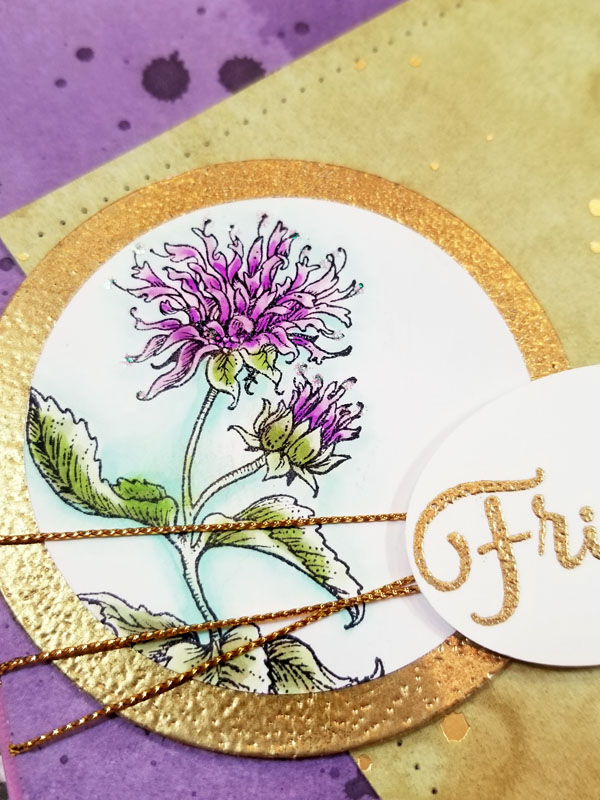
Here's the third. This one might just be my favorite since I love purple. ;-)


And, here's a peek at all three together! 


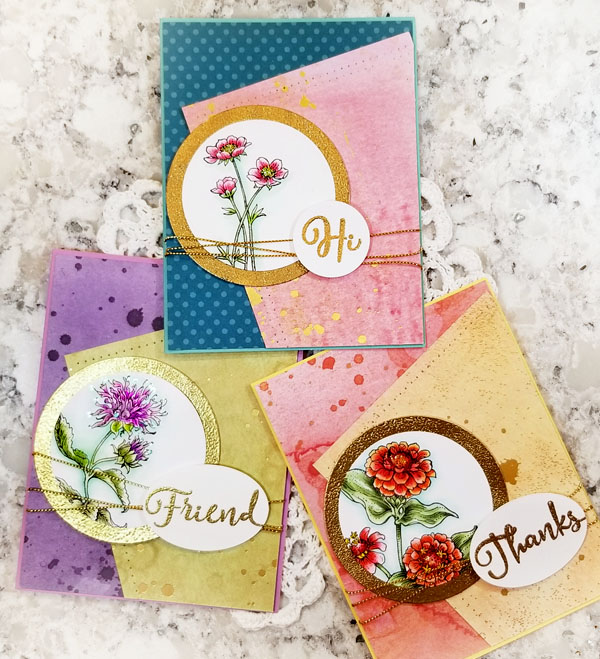
Hope you join me by playing along with me this week! Just click HERE to find out all about this week's challenge and remember, every time you play along during the month, it's one more chance to win a $25 trip to the Power Poppy Shop! Who wouldn't want that?


Since it's Friday, some of my fellow Bloomies are on standby ready and waiting to show you what they've been working on this week. So, without further ado, please pay these fine ladies a visit!


Be sure to stop by the Power Poppy Blog for a fun little Weekend Stamp Steal announcement featuring a beautiful array of... ORCHIDS! You'll want to check out that post for sure! ;-) 

Thanks for stopping by everyone & happy creating!

~Julie


Friday, May 10, 2019

Friday Power Poppy Fun!


Hello folks! Hope your week is ending on a high note! Since it's Friday, that means I'm here with some Bloom Brigade action for Power Poppy and I'm sharing a little challenge that I ushered in earlier this week on the Power Poppy blog!  It's based on a tutorial I did forever ago and it is super duper fun. If you want to check out the tutorial, all you need to do is click HERE.  I used this tutorial for the heart of this week's Creative Confetti challenge!

So, let's get to it! 


HOW TO PLAY: Simply use the resist technique we spotlighted in our Inspire Me Monday this week HERE or use another resist technique to create something with us this week! If you need a little more inspiration, all you need to do is click HERE! I went over to Splitcoaststampers to see what kind of resist tutorials they had and, man, they have a lot! Tons to pick from! 

When I first did this tutorial, I used a Christmas set -- Power Poppy's Poinsettia set.  Well, I thought it would be nice to take this tutorial for another test drive and, instead, make it a birthday creation! I wanted to use most of the same supplies, just put a new spin on it! And so.... that's what I did! 


Just like in the first tutorial, I used Versamark ink and white embossing powder, only this time, I reached for the stamp set My English Rose.  After stamping and embossing with fine detail powder, I used my Distress Markers and did the palette pick up technique where you scribble marker on a palette and then pick it up using a water brush. This gives it a more subdued look, more of a watercolor wash.  

I also created a border, like I did in my first card using Post-It Notes and then colored the edge with a light Copic marker. I used RV0000 and R0000. 


After I was done, I did iron my image like in the first card -- using NO steam and sandwiched between two pieces of typing paper until all the embossing powder was essentially melted off my creation. You can't tell, but this image is completely flat and so, when the white powder is melted, it vanishes and looks like a true resist!

After I was done, I stamped the sentiment from the Artistic Bouquet set using Versafine Onyx Black Ink. After that, mat it all up, add some rhinestones and... ta da! Finished! Hope you join me this week for Power Poppy's Creative Confetti challenge! I'd love to see your take on it and what resist technique you pull out of your little bag of tricks! ;-)


Want to see what one of my fellow Bloomies has up her creative sleeve? Check out this fine lady! Word has it she is serving up some Mother's Day inspiration for you all!


Thanks for stopping by everyone & happy creating! For all the moms out there, I hope you have the most amazing weekend surrounded by all those you love!

~Julie